Turning Your Wishes into Sweet Realities, One Homemade Treat at a Time. 🌟
Showing posts with label Classic Desserts. Show all posts

Monday, 23 December 2024

Stuffed Croissant Muffins: A Fun Twist on a Classic!

Flaky, buttery croissants meet the delightful surprise of hidden fillings in these Stuffed Croissant Muffins! Perfect for breakfast, brunch, or an indulgent snack, these muffins are incredibly versatile, fun to make, and oh-so-delicious. 😍 Let’s turn your kitchen into a bakery with this simple recipe! 🏠✨

Origin Story: Stuffed Croissant Muffins 🥐✨

Some recipes are born from necessity, others from creativity, and a few—like Stuffed Croissant Muffins—are the result of pure, delicious curiosity. Combining the buttery elegance of croissants with the versatility of muffins, this recipe is a love letter to those who believe that breakfast and snacks should always come with a delightful surprise inside.

The Classic Croissant: A French Icon

To understand the magic of Stuffed Croissant Muffins, we first need to pay homage to the croissant itself. A symbol of French baking, the croissant’s history actually begins in Austria. The “kipferl,” its predecessor, was a crescent-shaped pastry enjoyed as early as the 13th century. When Austrian bakers brought their craft to France in the 17th century, the French elevated the recipe with layers of buttery, flaky dough, creating the croissant we know and love today.

With its delicate layers and melt-in-your-mouth texture, the croissant quickly became a breakfast staple. But as versatile as it is, one thing remained constant: its shape. That is, until someone asked a very important question: What if we could reinvent the croissant as a muffin?

The Birth of the Stuffed Croissant Muffin

The story goes that a home baker, inspired by the viral “cruffin” trend—a hybrid of croissant and muffin—wanted to take things a step further. They thought, why stop at just merging shapes? Why not stuff these flaky pastries with an array of fillings, making every bite a new experience?

The idea came to life during a brunch experiment. Armed with refrigerated crescent roll dough (because life’s too short to laminate your own pastry every time), they rolled, filled, and folded their way into muffin tin magic. The first batch featured classic flavors: cream cheese and jam for sweetness, ham and cheese for savory. The result? Puffy, golden parcels of goodness that were crispy on the outside, tender on the inside, and bursting with flavor.

The concept of stuffed croissant muffins was born—a recipe that marries the sophistication of croissants with the practicality of muffins, offering endless possibilities for customization.

A Bite of Joy, Anytime

Stuffed Croissant Muffins quickly became a favorite for their versatility. They’re perfect for breakfast, brunch, or even dessert. Want a cozy treat on a rainy day? Fill them with Nutella or caramel and pair them with hot cocoa. Need an easy, crowd-pleasing appetizer? Opt for savory fillings like herbed goat cheese or spinach and feta.

These muffins also shine as a fun activity in the kitchen. Kids love helping to stuff and seal the dough, while adults enjoy experimenting with gourmet fillings. They’re the kind of recipe that turns an ordinary day into a celebration—simple to make but impressive enough to wow your family or guests.

Personal Connection

For me, Stuffed Croissant Muffins represent the joy of discovery. The first time I made them, it felt like opening a gift with every bite. Would it be creamy, chocolatey, or cheesy? Each muffin was a little surprise, and that’s what made them so special.

Now, they’ve become a go-to recipe in my household. Whether it’s a lazy weekend brunch or a last-minute dessert for unexpected guests, these muffins never fail to deliver. Watching the dough puff up in the oven, turning golden and glossy, is just as satisfying as taking the first bite.

A Recipe for Every Occasion

What makes Stuffed Croissant Muffins so magical is their adaptability. They can be sweet, savory, or a little of both. They’re perfect for mornings when you want something extra special, or evenings when you need a quick and indulgent snack.

Ingredients
🛒

  • 1 can (8 oz) refrigerated crescent roll dough 🥐
  • 1/2 cup cream cheese, softened 🧀
  • 1/4 cup powdered sugar 🍥
  • 1 teaspoon vanilla extract 🍦
  • 1/4 cup Nutella or chocolate spread 🍫 (optional for sweet version)
  • 1/4 cup jam (strawberry, raspberry, or your favorite!) 🍓
  • 1/4 cup diced ham and shredded cheese (for savory version) 🧀🍖
  • 1 egg, beaten 🥚
  • Optional: Powdered sugar for dusting 🍥 or fresh herbs for savory garnish 🌿

Recipe Details 📏

  • Prep Time: 10 mins
  • Bake Time: 12-15 mins
  • Yield: 8 stuffed croissant muffins

Instructions

  1. Preheat & Prep 🔥
    Preheat your oven to 375°F (190°C) and lightly grease a muffin tin.

  2. Roll It Out 🥐
    Separate the crescent roll dough into individual triangles. Lightly flatten each triangle with your fingers.
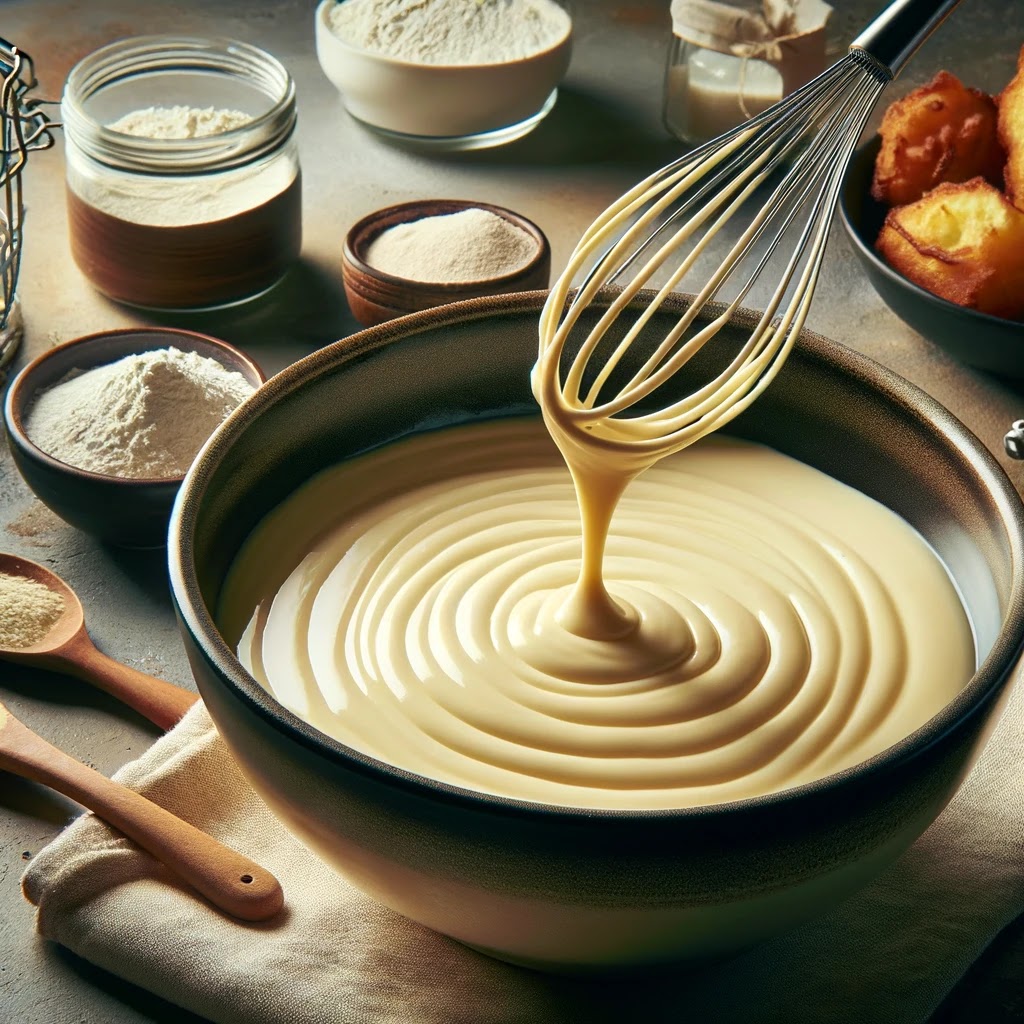
  3. Sweet Fillings 🍓🍫
    For sweet versions, mix cream cheese, powdered sugar, and vanilla extract in a small bowl until smooth. Add a dollop of the cream cheese mixture, Nutella, or jam to the center of each dough triangle.

  4. Savory Fillings 🧀🍖
    For savory versions, place a bit of diced ham and shredded cheese in the center.

  5. Wrap It Up 🎁
    Fold the edges of the dough around the filling, pinching to seal. Place the stuffed dough balls seam-side down into the muffin tin.
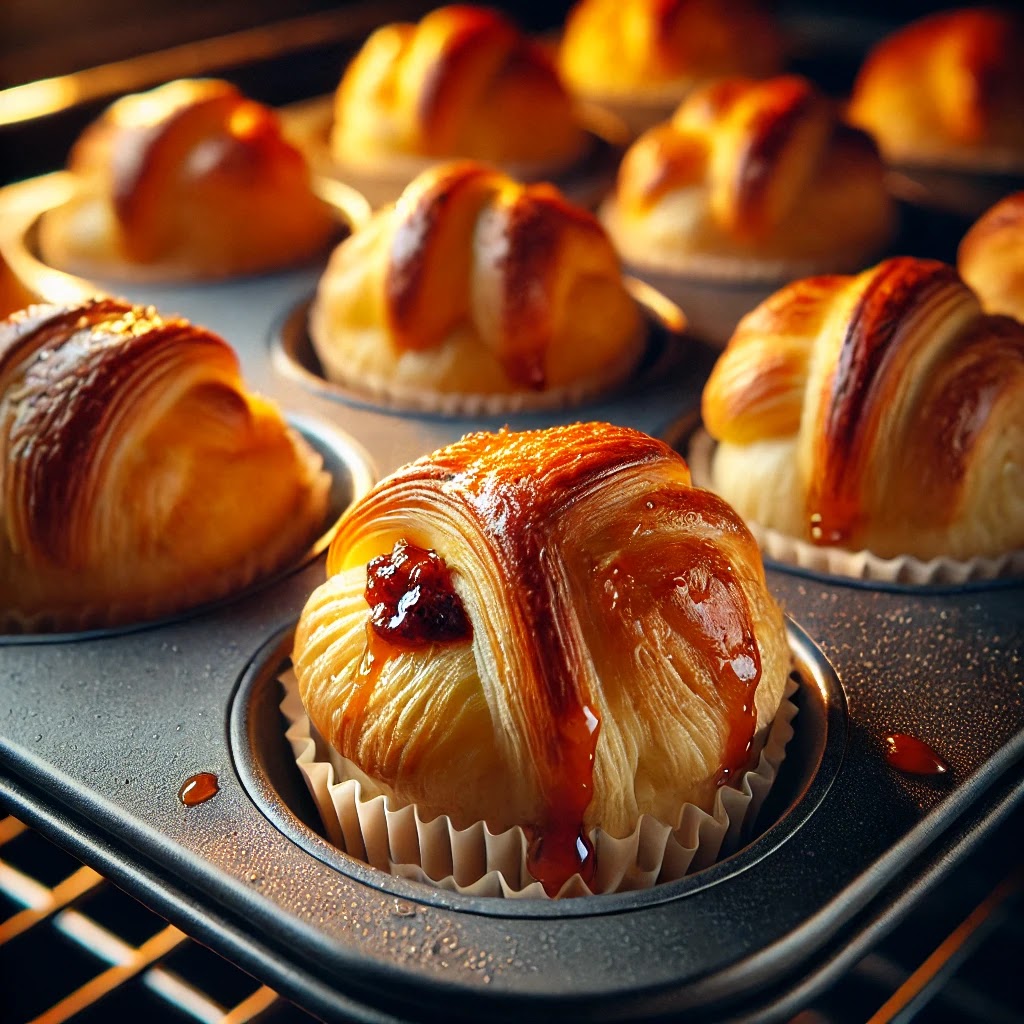
  6. Egg Wash & Bake 🥚
    Brush the tops with beaten egg for a golden, glossy finish. Bake for 12-15 minutes or until puffed and golden brown.

  7. Cool & Serve 🍽️
    Let cool slightly before removing from the tin. Dust sweet versions with powdered sugar or garnish savory ones with fresh herbs.

Pro Tips 🎓

  • Use refrigerated crescent dough sheets for a more uniform texture.
  • For extra flaky muffins, chill the stuffed dough for 10 minutes before baking.
  • Experiment with fillings! Think caramelized onions and goat cheese for a gourmet touch or peanut butter and banana for a fun twist. 🍌

Serving Suggestions 🍴

  • Sweet: Pair with a fresh cup of coffee ☕ or hot cocoa for a cozy treat.
  • Savory: Serve with a side salad 🥗 or soup 🍲 for a complete meal.
  • Dessert: Drizzle chocolate sauce or caramel over the sweet muffins for extra indulgence. 🍫

Whether you go sweet or savory, these Stuffed Croissant Muffins are guaranteed to impress! They’re flaky, versatile, and full of surprises in every bite. Perfect for any occasion or just because—you deserve it! 💕

Let me know if you'd like to generate some images to bring this recipe to life! 📸✨

Friday, 29 March 2024

Twilight Swirl Marble Muffins

Welcome back to Sam's Baking Blog! Today, we're taking a classic favorite and turning it into a portable treat with these Marble Muffins. Combining the best of both vanilla and chocolate, these muffins are perfect for those who can't decide between the two!

Origin Story: Marble Muffins

Marble muffins are a delightful combination of chocolate and vanilla batter swirled together to create a visually appealing and delicious treat. These muffins, known for their beautiful marbled pattern, are a favorite for breakfast, brunch, or as a sweet snack.

Historical Roots

The concept of marble cakes dates back to the 19th century in Germany, where the tradition of "Marmor Kuchen" (Marble Cake) began. German immigrants brought this technique to America, where it evolved into various forms, including muffins. The marble pattern is achieved by gently mixing two different batters, typically chocolate and vanilla, to create a visually appealing swirl.

The popularity of marble cakes and muffins grew in the United States during the 19th and 20th centuries. The recipe was often found in American cookbooks, celebrated for its striking appearance and delightful combination of flavors. The versatility and simple preparation of marble muffins made them a household favorite.

Cultural Significance

Marble muffins hold a special place in American baking culture, symbolizing creativity and the joy of baking. The striking visual appeal of the marbled pattern makes these muffins a popular choice for special occasions, brunches, and bake sales. They are loved by both children and adults, providing a perfect balance of chocolate and vanilla in each bite.

Personal Connection

My connection to marble muffins began during my childhood, when my mother would bake them for weekend breakfasts. The process of creating the marble effect always fascinated me, and I loved helping her swirl the batters together. The anticipation of seeing the beautiful patterns emerge as the muffins baked was always exciting.

Inspired by these memories, I set out to perfect my own marble muffin recipe. The key was to create a rich and moist batter that would hold its shape and flavor during baking. After experimenting with various recipes, I found that using high-quality cocoa powder and vanilla extract made a significant difference in the taste and appearance of the muffins.

Recipe Evolution

Creating the perfect marble muffins involves a few key steps. The batters for the chocolate and vanilla layers should be mixed separately to ensure distinct flavors. The chocolate batter is typically enhanced with cocoa powder and sometimes melted chocolate, while the vanilla batter is flavored with vanilla extract.

To create the marble effect, spoonfuls of each batter are alternately placed in the muffin cups. A toothpick or skewer is then used to gently swirl the batters together, creating the signature marbled pattern. Care must be taken not to overmix, as this can cause the batters to blend too much and lose the distinct marbling.

Baking the muffins at the right temperature ensures they rise evenly and develop a golden crust. The result is a muffin that is both visually stunning and delicious, with a perfect balance of chocolate and vanilla flavors.

Sharing the Tradition

Today, marble muffins are a favorite in my household. They are the muffins I bake when I want to share a touch of nostalgia and creativity with friends and family. Each muffin is a reminder of those cherished baking moments with my mother and the joy of creating something beautiful and delicious.

Ingredients:

1 3/4 cups all-purpose flour
2 teaspoons baking powder
1/2 teaspoon salt
1/2 cup unsalted butter, softened
1 cup granulated sugar
2 large eggs
1 teaspoon vanilla extract
1/2 cup milk
2 tablespoons cocoa powder

Prep Time: 20 minutes
Cook Time: 20-25 minutes
Yield: 12 muffins

Instructions:

  1. Preheat the oven to 350°F (175°C). Line a muffin tin with paper liners or grease the cups.
  2. In a medium bowl, whisk together the flour, baking powder, and salt.
  3. In a large bowl, cream the butter and sugar until light and fluffy. Beat in the eggs one at a time, then stir in the vanilla extract.
  4. Gradually add the dry ingredients to the wet ingredients, alternating with the milk, starting and ending with the dry ingredients. Mix until just combined.
  5. Divide the batter in half. Stir the cocoa powder into one half of the batter.
  6. Spoon the vanilla and chocolate batters alternately into the muffin cups, filling each about 3/4 full. Use a toothpick or a knife to swirl the batters together gently.
  7. Bake for 20-25 minutes, or until a toothpick inserted into the center of a muffin comes out clean.
  8. Let the muffins cool in the tin for 5 minutes, then transfer to a wire rack to cool completely.

Pro Tips:

  • Ensure all ingredients are at room temperature for a smoother batter.
  • Don't overmix the batter to keep the muffins tender.

Secret Tips:

Add a teaspoon of instant coffee to the chocolate batter to enhance the chocolate flavor.

Serving Options:

Serve these marble muffins as a delightful breakfast treat or as a sweet snack with your afternoon coffee.

Health Benefits:

For a healthier version, use whole wheat flour instead of all-purpose flour and reduce the sugar to 3/4 cup.

Variations & Customization Options:

Add a handful of chocolate chips to the batter for extra chocolatey goodness.
Experiment with different extract flavors like almond or orange for a unique twist.

These Marble Muffins are a fun and delicious way to enjoy the best of both vanilla and chocolate in every bite. They're sure to be a hit with everyone who tries them. 

Happy baking!
Sam

Sunday, 4 February 2024

Sam's Zalabia: The Sweet Legacy of Generations

Discover the sweet legacy of generations with Sam's Zalabia, a timeless Middle Eastern dessert that embodies the spirit of unity and generosity. As we savor these golden, crispy bites, we honor a tradition that dates back centuries. Zalabia, also known as Luqaimat, emerged as a symbol of sharing and caring during Ramadan. Today, it remains a beloved treat, cherished for its sweetness and the love it represents.

Origin Story: Zalabia

Zalabia, also known as loukoumades or zulbia, is a traditional sweet treat enjoyed across various cultures, particularly in the Middle East, North Africa, and parts of South Asia. These deep-fried dough balls, soaked in syrup or honey, hold a special place in culinary history and are often associated with festive occasions and celebrations.

Historical Roots

The history of zalabia dates back to ancient times. It is believed that zalabia has its origins in the Middle East, with references found in early Arabic cookbooks from the Abbasid Caliphate period (8th-13th centuries). The dish spread across the Mediterranean and beyond, influenced by various cultures along the way.

In medieval Arab cookbooks, zalabia was described as a dessert made from a simple batter of flour, water, and yeast, fried until golden and then soaked in syrup. This method of preparation has remained relatively unchanged over centuries, highlighting the timeless appeal of this sweet treat.

Cultural Significance

Zalabia is deeply rooted in the culinary traditions of many countries, including Egypt, Lebanon, Syria, Iran, and Turkey. In each region, it goes by different names and may have slight variations in preparation, but the essence remains the same. In Egypt, for example, zalabia is often enjoyed during Ramadan, where it is served to break the fast. It symbolizes hospitality and is a staple at festive gatherings.

In Greece, a similar dish known as loukoumades is enjoyed, particularly during special occasions and religious festivals. These small, round doughnuts are typically drizzled with honey and sprinkled with cinnamon or sesame seeds.

In Iran, zulbia is a popular sweet during the Persian New Year (Nowruz) and Ramadan. It is often paired with another sweet called bamieh and is loved for its crispy texture and sweet syrupy coating.

Personal Connection

My fascination with zalabia began during a family trip to Egypt, where I first tasted these golden, syrup-soaked delights at a bustling street market in Cairo. The vendor, a skilled and friendly man, shared stories of how zalabia had been a part of his family's tradition for generations. Inspired by this experience, I decided to recreate zalabia in my kitchen, hoping to capture the essence of this beloved treat.

Recipe Evolution

Creating the perfect zalabia involves a few key steps. The batter must be mixed to the right consistency, neither too thick nor too thin, to ensure the dough puffs up nicely when fried. Yeast is used to leaven the batter, giving the zalabia their light and airy texture.

Once the dough has risen, it is carefully dropped into hot oil using a spoon or piping bag, forming small, round balls. The zalabia are fried until golden brown and then immediately soaked in a sugar syrup flavored with rose water, orange blossom water, or honey. This soaking process allows the sweet syrup to permeate the dough, creating a deliciously moist and sweet treat.

For an added touch, zalabia can be sprinkled with powdered sugar, cinnamon, or sesame seeds before serving. They are best enjoyed fresh and warm, though they can also be served at room temperature.

Sharing the Tradition

Today, zalabia is a favorite treat in my household, especially during holidays and family gatherings. They are the sweets I make when I want to share a piece of culinary history and tradition with friends and family. Each bite is a reminder of the rich cultural heritage and the joy of sharing food that has been cherished for generations.

Ingredients:

✅For the Batter:

2 cups all-purpose flour
1 teaspoon active dry yeast
1/2 teaspoon sugar
1 1/2 cups warm water

✅For the Sugar Syrup:

1 cup sugar
1/2 cup water
1/2 teaspoon lemon juice
1/2 teaspoon rose or orange blossom water (optional)

✅For Frying:

Vegetable oil for deep frying

Preparation Time: 20 minutes (plus resting time)
Cooking Time: 20 minutes
Yield: This recipe yields a delightful batch of Zalabia, perfect for sharing.

Instructions:

🍥The Batter:

  1. In a small bowl, mix warm water, sugar, and active dry yeast. Let it sit for 5-10 minutes until frothy.
  2. In a large mixing bowl, combine the frothy yeast mixture with all-purpose flour. Mix until you have a smooth batter. Cover the bowl and let it rest for 1-2 hours, allowing the batter to rise and become airy.

🍥The Sugar Syrup:

  1. In a saucepan, combine sugar, water, and lemon juice. Bring it to a boil, then reduce the heat and simmer for about 10 minutes until it thickens slightly.
  2. Remove from heat and add rose or orange blossom water (if using). Set the syrup aside to cool.


🍥Frying the Zalabia:

  1. In a deep frying pan, heat vegetable oil to 350°F (175°C).
  2. Using a spoon or your hand, drop small portions of the batter into the hot oil. Fry until they turn golden brown and crispy, about 2-3 minutes per side. You can shape them into small balls or irregular shapes, as is traditional.
  3. Remove the fried zalabia with a slotted spoon and drain on paper towels to remove excess oil.

🍥Serving:

  1. While still warm, dip the fried zalabia into the cooled sugar syrup. Ensure they are fully coated.
  2. Serve immediately, garnished with chopped nuts (like pistachios or almonds) if desired.

Pro Tips

  1. Fry to Perfection: Maintain the oil at the right temperature for crispy zalabia. Too hot, and they may burn; too cool, and they won't puff up.
  2. Customize Your Syrup: Adjust the thickness and flavor of the sugar syrup to your preference. Some enjoy it thicker, while others prefer a hint of rose or orange blossom water.

Secret Tips

  1. Generous Shapes: Embrace the irregular shapes of zalabia, for they hold the essence of tradition and the warmth of sharing.

As you savor Sam's Zalabia, you become part of a beautiful tradition that transcends time. It's a sweet reminder of the importance of generosity, kindness, and unity—values that shine brightly during Ramadan and beyond. Let the golden bites melt in your mouth, and may their sweetness fill your heart with warmth and joy.

Happy Baking!
Sam

Thursday, 1 February 2024

Homemade Strawberry Shortcake Recipe

Welcome to my kitchen, where we celebrate the simple joys of life with my Homemade Strawberry Shortcake. This delightful dessert captures the essence of warm, sunny days and family gatherings. It's about sharing moments and creating memories over a plate of sweet, fresh strawberries, tender shortcake, and creamy whipped cream. Join me in making this classic treat that warms both the heart and the taste buds.

Origin Story: Strawberry Shortcake

Strawberry shortcake is a classic dessert that combines sweet, juicy strawberries, fluffy whipped cream, and tender shortcake biscuits. This delightful treat has a rich history that spans centuries and cultures, evolving into the beloved dessert we know today.

Historical Roots

The origins of strawberry shortcake can be traced back to early European cooking. The concept of shortcake, a crumbly and slightly sweet biscuit, dates back to the 16th century in England. The term "short" in baking refers to the addition of fat, like butter or lard, which creates a crumbly texture.

Strawberries, native to both the Americas and Europe, have been enjoyed since ancient times. The combination of strawberries and cream was a favorite in English cuisine, with recipes for strawberry desserts appearing as early as the 16th century. The first known recipe for strawberry shortcake in America was published in an 1847 issue of the "Miss Leslie's Ladies Magazine."

The modern version of strawberry shortcake, featuring a biscuit or sponge cake base topped with sweetened strawberries and whipped cream, became popular in the United States in the mid-19th century. This dessert quickly became associated with spring and summer, as it highlighted the fresh, seasonal strawberries available during these months.

Cultural Significance

Strawberry shortcake holds a special place in American culinary traditions, often associated with spring and summer celebrations. It is a staple at Fourth of July picnics, garden parties, and other festive gatherings. The dessert's light and refreshing nature makes it perfect for warm weather, and its vibrant colors add a festive touch to any table.

In addition to its popularity in the United States, variations of strawberry shortcake can be found in many cultures. In Japan, for example, a similar dessert known as "strawberry sponge cake" is a favorite for Christmas celebrations and birthdays.

Personal Connection

My journey with strawberry shortcake began with a quest to create the perfect summer dessert. Inspired by the simplicity and elegance of this classic treat, I set out to develop a recipe that balanced the sweetness of ripe strawberries, the richness of homemade whipped cream, and the tender crumb of shortcake biscuits.

Experimenting with different recipes, I found that using fresh, local strawberries and lightly sweetened whipped cream enhanced the natural flavors of the ingredients. The key to perfect shortcake biscuits was to use cold butter and handle the dough gently to create a light, flaky texture.

Recipe Evolution

Creating the perfect strawberry shortcake involves a few key steps. The shortcake biscuits should be tender and slightly sweet, with a golden crust and soft interior. Using cold butter and cutting it into the flour mixture helps achieve the desired crumbly texture. Adding a touch of sugar and a bit of vanilla extract enhances the flavor without overpowering the strawberries.

The strawberries should be macerated with a bit of sugar to release their juices and create a natural syrup. This process not only sweetens the strawberries but also softens them, making them perfect for layering on top of the shortcake.

Whipping the cream until soft peaks form, then adding a bit of powdered sugar and vanilla, creates a light and airy topping that complements the strawberries and shortcake.

Sharing the Tradition

Today, strawberry shortcake is a favorite dessert in my household, especially during the spring and summer months. It is the dessert I make when I want to showcase fresh, seasonal strawberries and offer a light, refreshing treat to friends and family. Each bite is a celebration of the simple pleasures of seasonal eating and the joy of sharing delicious food with loved ones.

Ingredients:

✅For the Shortcakes:

2 cups all-purpose flour
1/4 cup granulated sugar
1 tablespoon baking powder
1/2 teaspoon salt
1/2 cup (1 stick) unsalted butter, cold and cubed
1 cup heavy cream
1 teaspoon pure vanilla extract


✅For the Strawberry Filling:

4 cups fresh strawberries, hulled and sliced
1/4 cup granulated sugar
1 teaspoon lemon juice

✅For the Whipped Cream:

1 cup heavy cream
2 tablespoons powdered sugar
1 teaspoon pure vanilla extract

Preparation Time: 30 minutes
Baking Time: 12-15 minutes
Yield: This recipe yields approximately 6 delectable Strawberry Shortcakes.

Instructions:

  1. Preheat your oven to 425°F (220°C). Line a baking sheet with parchment paper.
  2. In a mixing bowl, whisk together the all-purpose flour, granulated sugar, baking powder, and salt.
  3. Add the cold, cubed unsalted butter to the dry mixture. Use a pastry cutter or your fingers to work the butter into the flour until it resembles coarse crumbs.
  4. Pour in the heavy cream and pure vanilla extract. Mix until just combined. Be careful not to overmix.
  5. Turn the dough out onto a floured surface and gently knead it a few times until it comes together. Pat it into a 1-inch thick rectangle.
  6. Use a round biscuit cutter to cut out shortcakes from the dough. Place them on the prepared baking sheet.
  7. Bake in the preheated oven for 12-15 minutes or until the shortcakes are golden brown. Let them cool completely.
  8. While the shortcakes are cooling, prepare the strawberry filling. In a bowl, combine the sliced strawberries, granulated sugar, and lemon juice. Let them macerate for about 15 minutes.
  9. In another bowl, whip the heavy cream, powdered sugar, and pure vanilla extract until stiff peaks form.
  10. To assemble, slice the cooled shortcakes in half horizontally. Spoon some of the macerated strawberries onto the bottom half, then add a dollop of whipped cream. Place the top half of the shortcake on top.
  11. Garnish with additional whipped cream and a fresh strawberry, if desired.

Pro Tips:

  1. Cold Butter: Ensure the butter is cold when incorporating it into the flour for flakier shortcakes.
  2. Macerating Strawberries: Macerating strawberries with sugar and lemon juice enhances their flavor and juiciness.

Secret Tips:

  • Whipped Cream Perfection: Whip the heavy cream until it forms stiff peaks for a luscious topping.


"Savor the taste of summer with our Strawberry Shortcake, a dessert that's as lovely as it is delicious. Whether it's a picnic, a barbecue, or a simple family dinner, this dessert adds a touch of sweetness to every occasion."

Enjoy creating and savoring this mouthwatering Strawberry Shortcake recipe!

Sam