Tiramisu Cake is a rich, creamy Italian dessert that's perfect for any occasion. This homemade version features layers of espresso-soaked ladyfingers, mascarpone cheese filling, and a dusting of cocoa powder. Follow this simple recipe to create a delectable Tiramisu Cake that will impress your friends and family.
Origin Story: Tiramisu Cake
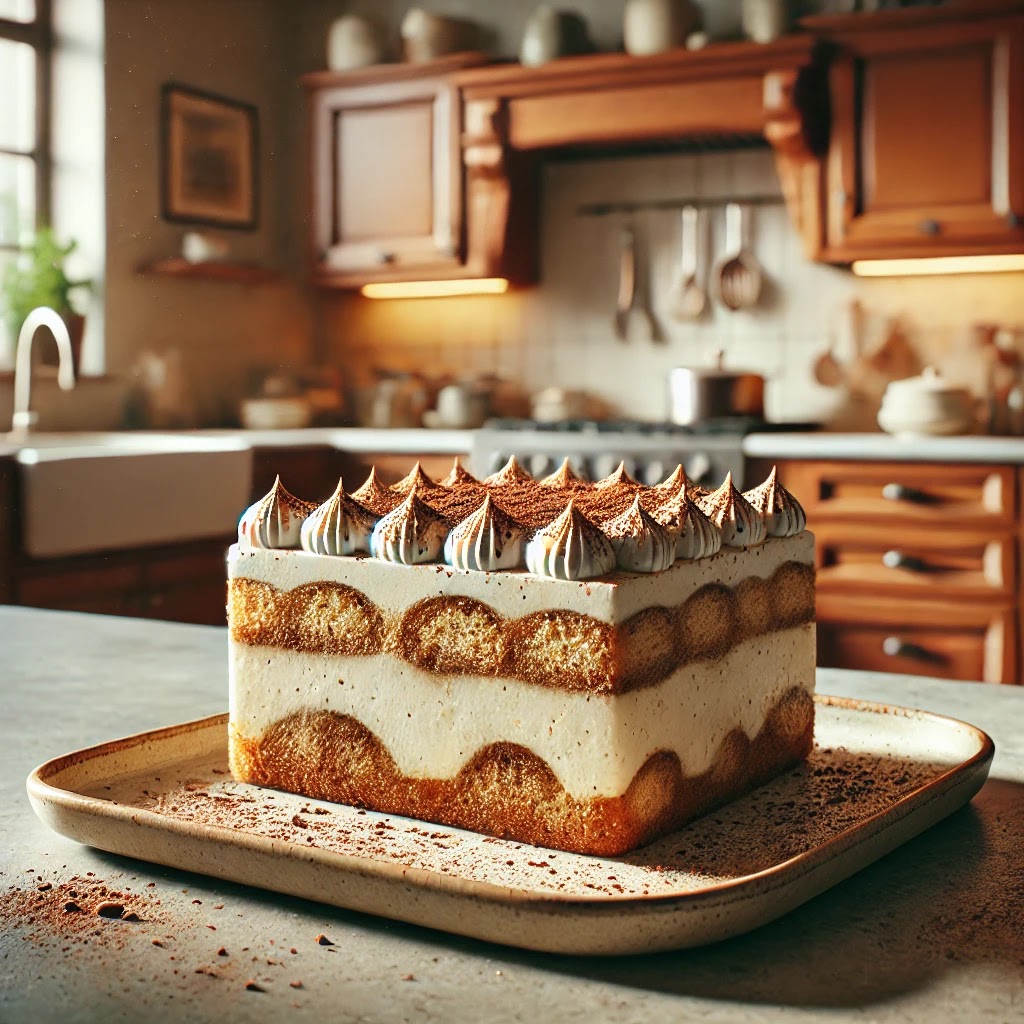
Tiramisu Cake is an elegant and decadent dessert that combines the classic flavors of the traditional Italian tiramisu with the structure of a cake. This fusion dessert offers layers of moist cake, rich mascarpone cream, and a dusting of cocoa powder, making it a show-stopping treat for any occasion.
Historical Roots
The origins of tiramisu, which translates to "pick me up" or "cheer me up" in Italian, are relatively recent in the culinary world. Tiramisu is believed to have been created in the Veneto region of Italy in the 1960s. While the exact origin is debated, one popular account attributes its creation to a restaurant called Le Beccherie in Treviso. Traditional tiramisu is made with layers of coffee-soaked ladyfingers, mascarpone cheese, eggs, sugar, and cocoa powder.
The evolution of tiramisu into a cake form likely occurred as chefs and home bakers sought to combine the beloved flavors of tiramisu with the familiar structure of layered cakes. This adaptation allows for a more stable dessert that can be sliced and served like a traditional cake, while still retaining the creamy, coffee-infused essence of tiramisu.
Cultural Significance
Tiramisu Cake holds a special place in contemporary dessert culture, blending the best of Italian and American baking traditions. It is a popular choice for celebrations, from birthdays to weddings, due to its luxurious taste and impressive presentation. The cake's rich layers and sophisticated flavors make it a favorite for dessert lovers seeking something both classic and innovative.
This dessert also symbolizes the fusion of culinary techniques and the willingness to innovate within traditional recipes, showcasing how classic dishes can evolve and adapt to new forms and tastes.
Personal Connection
My journey with Tiramisu Cake began when I wanted to create a special dessert for a family celebration. Traditional tiramisu, while delicious, seemed too informal for the occasion. Inspired by the idea of transforming it into a cake, I experimented with different recipes to find the perfect balance of flavors and textures.
The key was to maintain the rich, creamy layers of mascarpone and coffee while ensuring the cake structure was moist and flavorful. Incorporating elements like a coffee syrup to soak the cake layers and a mascarpone cream frosting helped achieve the desired results.
Recipe Evolution
Creating the perfect Tiramisu Cake involves several key steps. The cake layers should be moist and tender, infused with a coffee syrup to mimic the coffee-soaked ladyfingers of traditional tiramisu. Using a combination of all-purpose flour, sugar, eggs, and butter creates a rich, flavorful cake base.
The mascarpone cream filling is made with mascarpone cheese, heavy cream, and sugar, creating a luscious, smooth layer. Adding a bit of Marsala wine or coffee liqueur enhances the flavor, adding depth and complexity.
Assembling the cake involves layering the coffee-soaked cake with the mascarpone cream, then finishing with a dusting of cocoa powder. Chilling the cake before serving allows the flavors to meld and the texture to set, ensuring each slice is perfect.
Sharing the Tradition
Today, Tiramisu Cake is a favorite dessert in my household, especially for special occasions and gatherings. It is the cake I bake when I want to impress guests with a sophisticated and delicious treat. Each bite is a reminder of the joy of baking and the rich culinary heritage of both Italy and contemporary fusion desserts.
Ingredients✅For the Cake Layers:
- 6 large eggs, separated
- 1 cup granulated sugar
- 1 cup all-purpose flour
- 1 teaspoon baking powder
- 1/2 teaspoon salt
- 1/4 cup milk
- 1/4 cup vegetable oil
- 1 teaspoon vanilla extract
✅For the Filling:
- 1 cup heavy cream
- 8 oz mascarpone cheese
- 1/2 cup granulated sugar
- 2 teaspoons vanilla extract
- 1 cup strong brewed espresso, cooled
- 1/4 cup coffee liqueur (optional)
✅For the Assembly and Topping:
- 24 ladyfinger cookies
- Unsweetened cocoa powder, for dusting
- Dark chocolate shavings (optional)
Recipe Duration
- Preparation Time: 30 minutes
- Cooking Time: 20-25 minutes
- Chilling Time: 4 hours
- Yield: 12 servings
Instructions
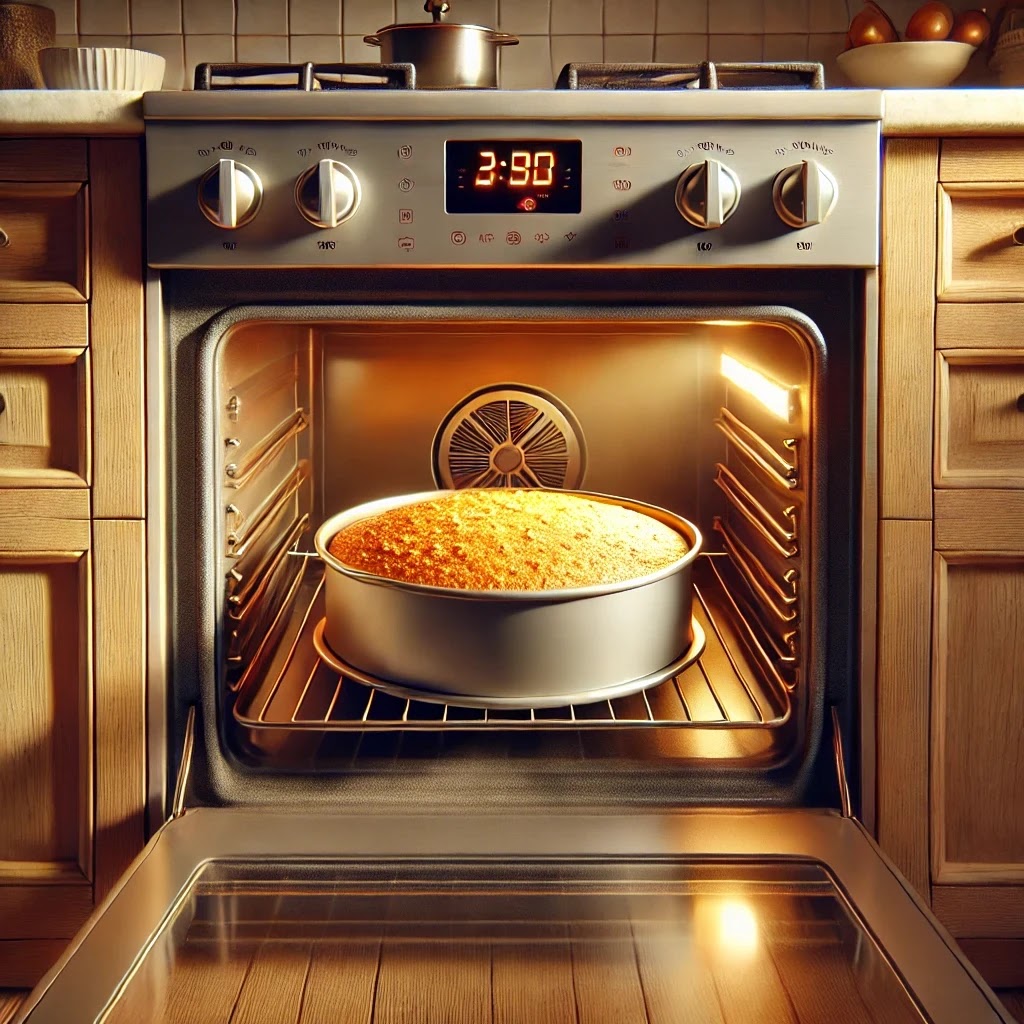
Preheat your oven to 350°F (175°C). Grease and flour two 9-inch round cake pans.
In a medium bowl, whisk together the flour, baking powder, and salt. In a large bowl, beat the egg yolks and sugar until thick and pale. Add milk, oil, and vanilla extract, mixing well. Gradually add the flour mixture to the egg mixture until just combined.
In a separate bowl, beat the egg whites until stiff peaks form. Gently fold the egg whites into the cake batter until no streaks remain.
Divide the batter evenly between the prepared pans and bake for 20-25 minutes, or until a toothpick inserted into the center comes out clean. Let the cakes cool in the pans for 10 minutes, then transfer to a wire rack to cool completely.
In a large bowl, beat the heavy cream until stiff peaks form. In another bowl, mix mascarpone cheese, sugar, and vanilla extract until smooth. Gently fold the whipped cream into the mascarpone mixture.
Place one cake layer on a serving plate. Brush with half of the espresso and coffee liqueur mixture. Spread half of the mascarpone filling over the cake layer. Arrange 12 ladyfingers on top, then spread another layer of mascarpone filling.
Place the second cake layer on top and brush with the remaining espresso mixture. Spread the remaining mascarpone filling over the top and sides of the cake. Dust with cocoa powder and garnish with dark chocolate shavings if desired. Chill for at least 4 hours or overnight.
Pro Tips
- Use Fresh Espresso: Freshly brewed espresso enhances the flavor.
- Room Temperature Ingredients: Ensure all ingredients are at room temperature for smooth blending.
- Don't Overmix: Fold ingredients gently to maintain airiness.
- Chill Overnight: Chilling overnight allows flavors to meld.
- Use High-Quality Mascarpone: For the best taste and texture.
- Stiff Peaks for Cream: Ensure the heavy cream reaches stiff peaks.
- Brush Evenly: Evenly brush espresso mixture for consistent flavor.
- Dust Just Before Serving: Dust cocoa powder just before serving for the best appearance.
- Sharp Knife: Use a sharp knife for clean slices.
- Decorate with Chocolate Shavings: For an extra touch of elegance.
Serving Options
- With Coffee: Serve with a cup of strong coffee.
- With Fresh Berries: Garnish with fresh raspberries or strawberries.
- With Mint Leaves: Add a sprig of mint for a fresh touch.
- With Whipped Cream: A dollop of whipped cream on the side.
- With Chocolate Sauce: Drizzle with warm chocolate sauce.
- With Amaretto: Serve with a glass of Amaretto liqueur.
- With Vanilla Ice Cream: A scoop of vanilla ice cream on the side.
- With Caramel Drizzle: Drizzle with caramel sauce.
- With Pistachios: Sprinkle chopped pistachios for a crunch.
- With Lemon Zest: A hint of lemon zest for freshness.
Variations and Customization Options
- Berry Tiramisu: Add a layer of fresh berries.
- Chocolate Tiramisu: Use chocolate ladyfingers and add cocoa to the filling.
- Nutty Tiramisu: Sprinkle chopped nuts between layers.
- Caramel Tiramisu: Drizzle caramel sauce between layers.
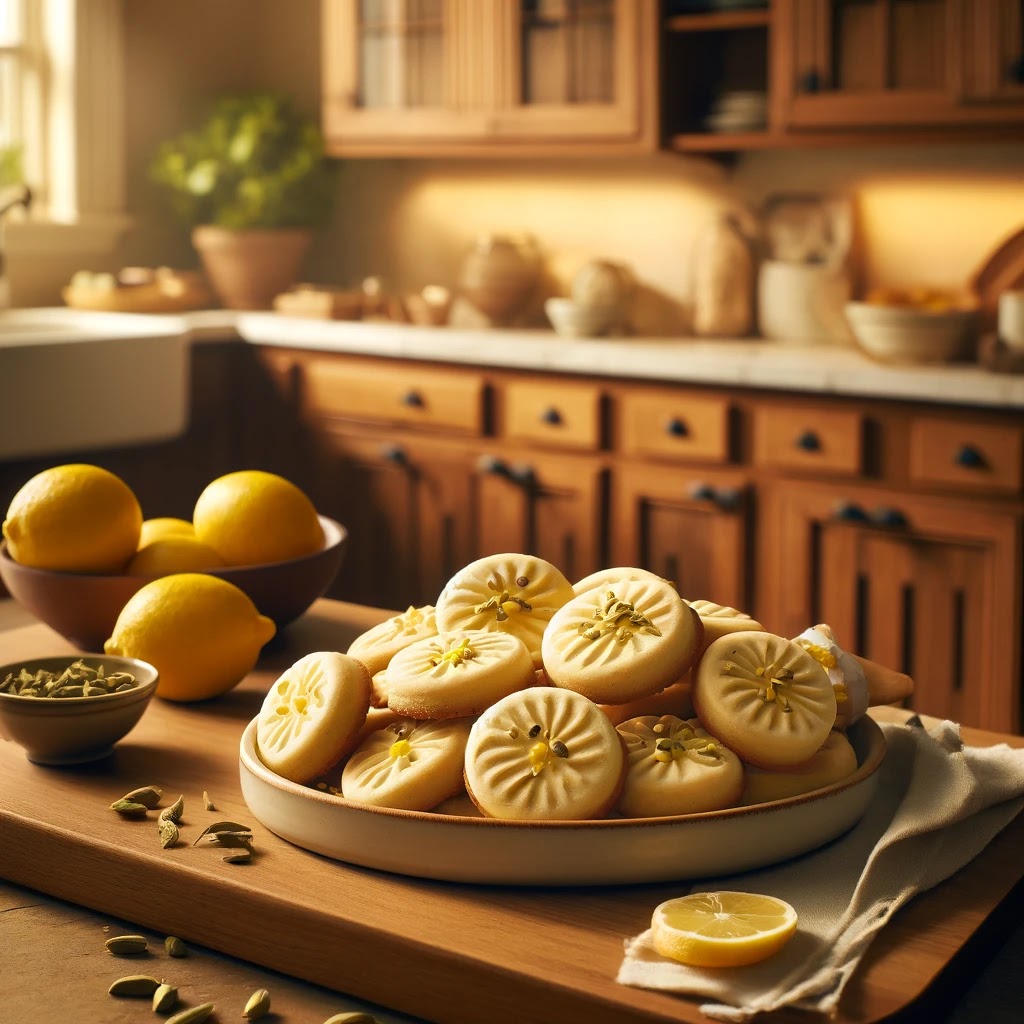
- Lemon Tiramisu: Add lemon zest and juice to the filling.
- Pumpkin Tiramisu: Add pumpkin puree and spices to the filling.
- Berry Compote: Serve with a berry compote on the side.
- Coconut Tiramisu: Add coconut extract and shredded coconut.
- Mint Tiramisu: Add mint extract and fresh mint leaves.
- Spiced Tiramisu: Add cinnamon and nutmeg to the filling.
This homemade Tiramisu Cake is a delightful and indulgent dessert that combines rich flavors and creamy textures. Perfect for special occasions or simply to satisfy your sweet tooth, this recipe is sure to impress. Enjoy creating and sharing this classic Italian treat with your loved ones!
 Origin Story: Zucchini Muffins
 Instructions